PlayTray: Building a playing platform/table
Beating the floor at it's own game
When I first saw the place we were going to move in to and later buy, I immediately noticed the floors. Splintering floor boards, a 10cm sag in every room, gaps you can lose a pen down... They had it all
Later I noticed the crumbling walls, plaster, and other stuff which made the whole thing a fixer-upper waiting to happen. But its benefits outweighed it's problems, especially as we were only looking to rent at first.
Fast forward 6 years and the floor has become a major issue in at least one way: it's a shitty play area for our kids. The upside is that any marbles spilled tend to roll to the center of the room. Otherwise it's impossible to ride toy cars on it, there's splinters everywhere...
I'd long had a collection of leftover wood in the basement. One plywood board in particular, which had been used as a sliding door cat barrier on our stairs (don't ask) had long struck my fancy. I'd even designed a covering image for it; the monaco map you'll find under projects. When my SO wanted to get a stack of wooden slats for the garden, I decided to add a side-order of slats and do the project. Miraculously, when I told her about it, she asked me if it would fit under the couch for storage (it did) and the next day took the kids into the garden for three hours so I could build it!
Construction
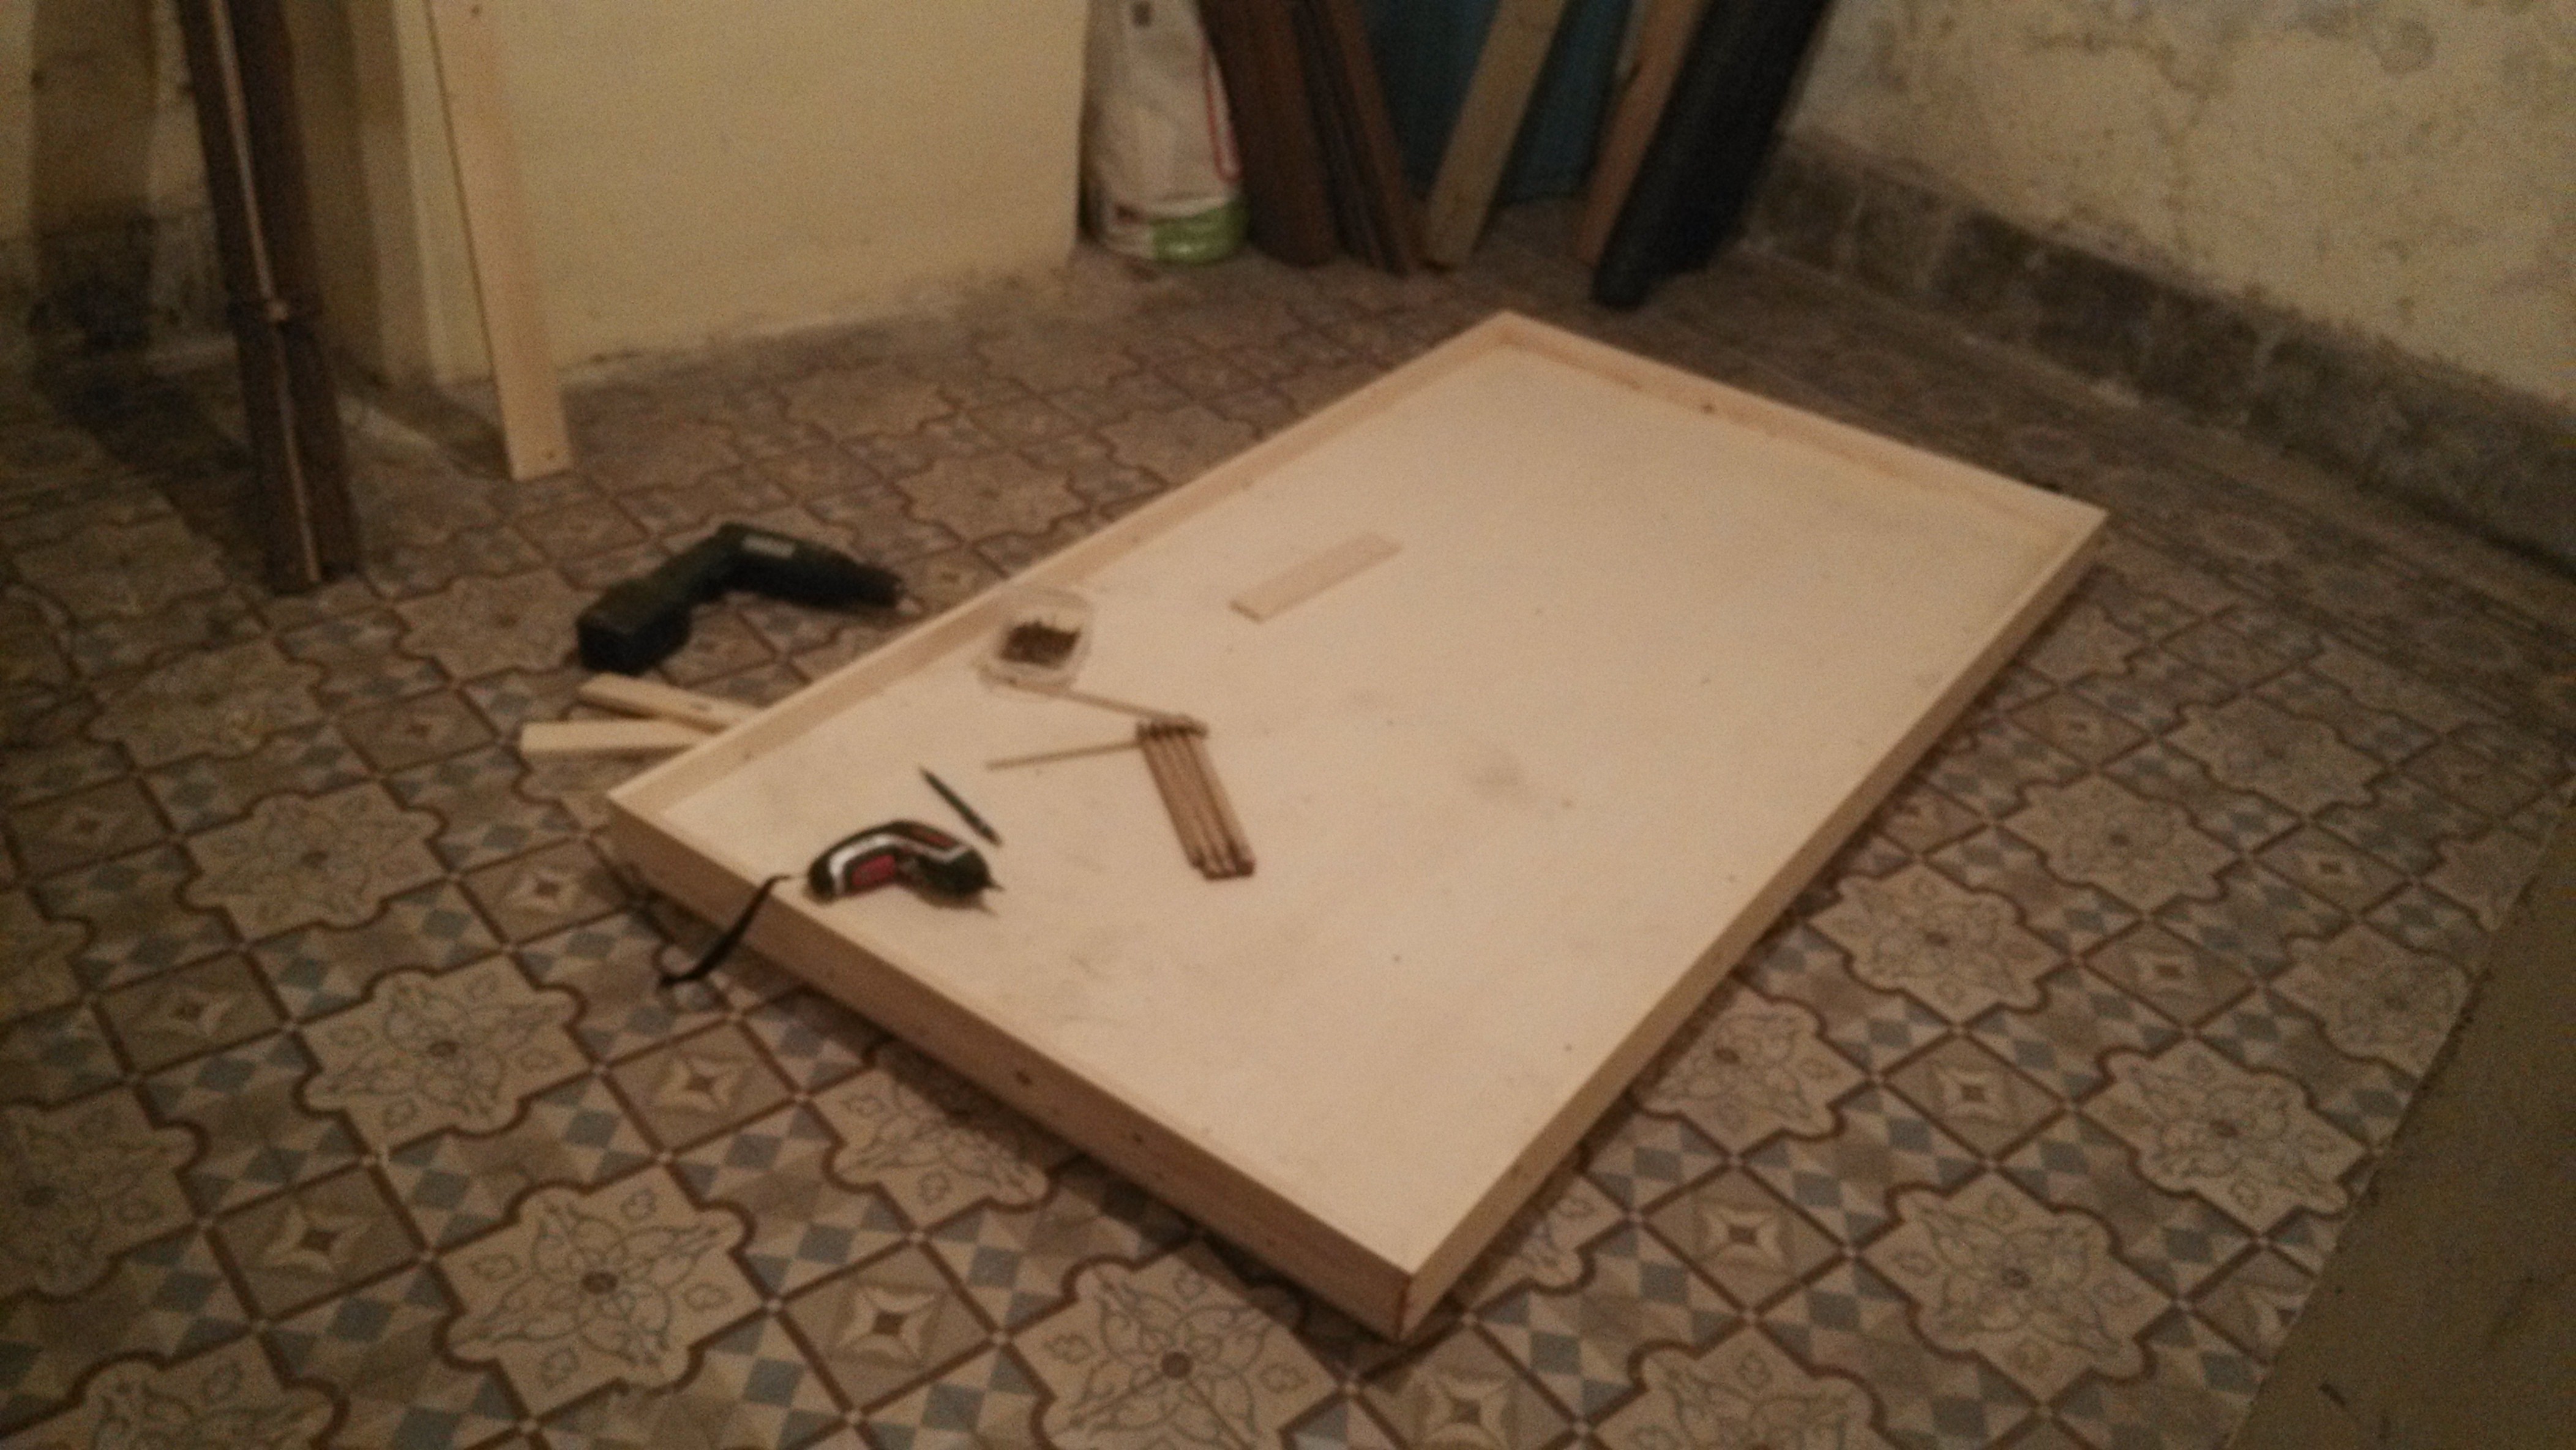
Construction was straightforward. I borrowed my neighbour's basement as mine is completely full.
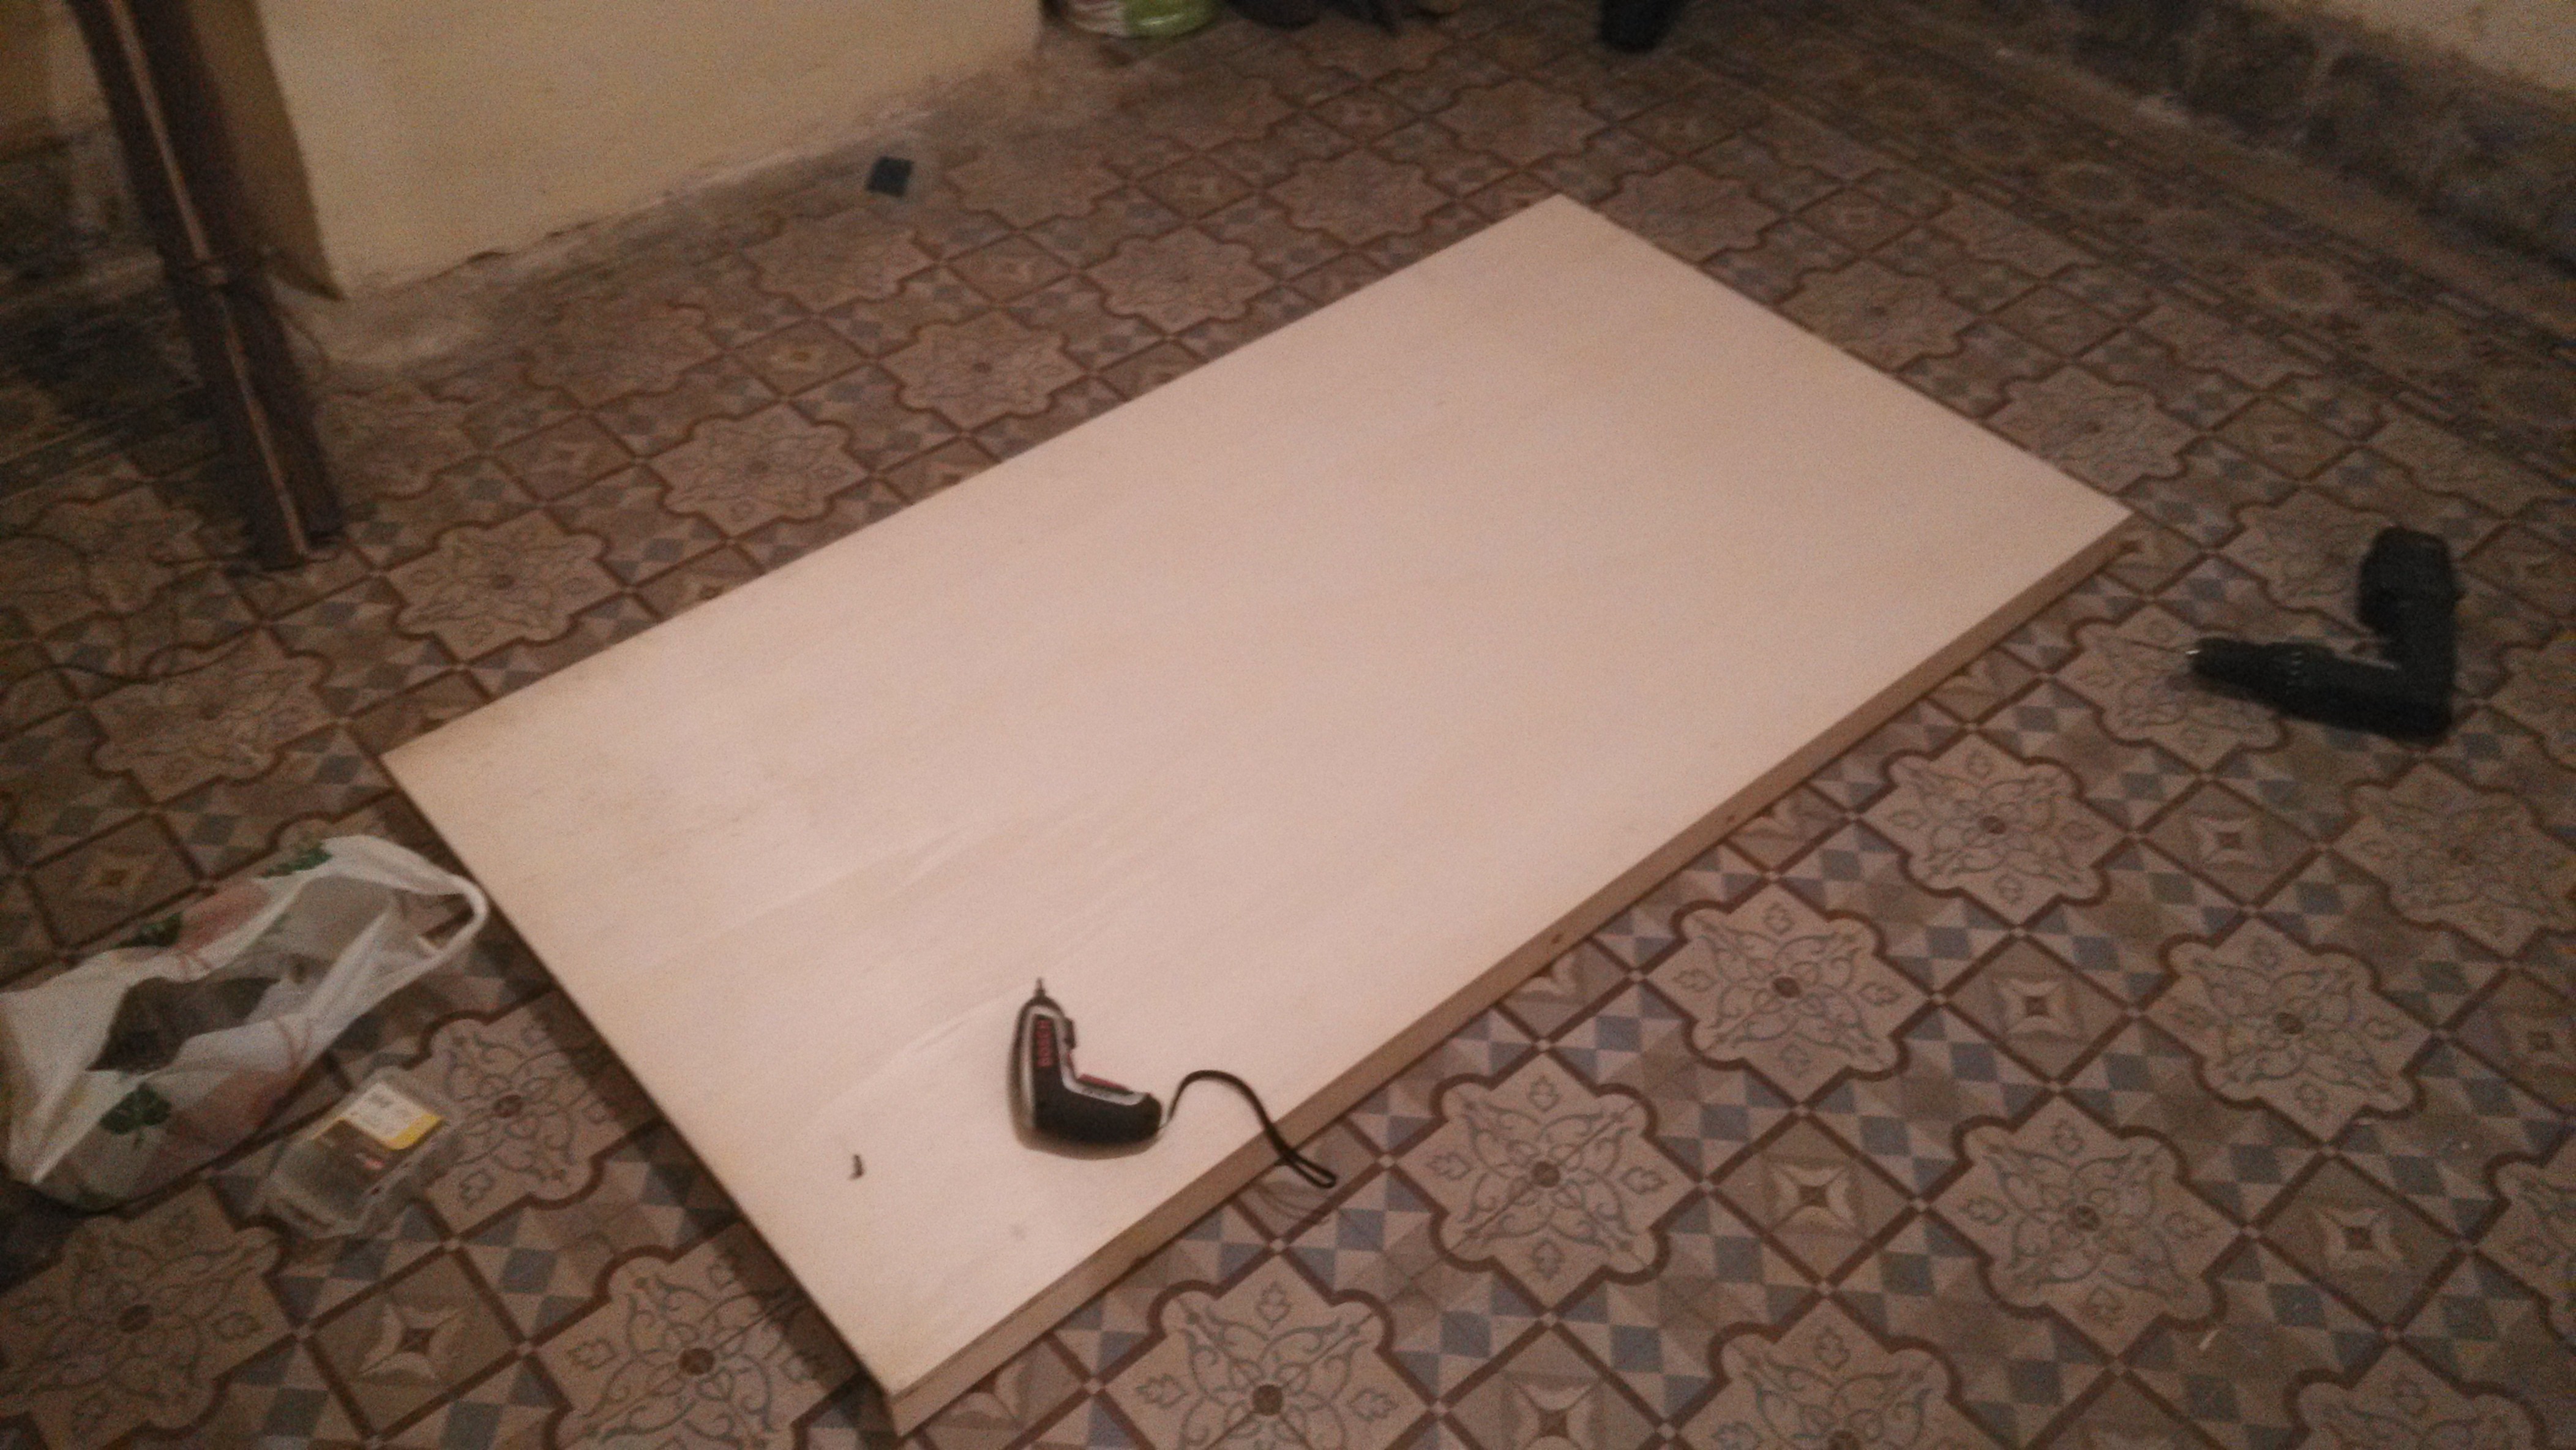 I started by cutting the long slats that would sit on the bottom. I put them under the plank, then predrilled and secured them flush with the edge of the board.
 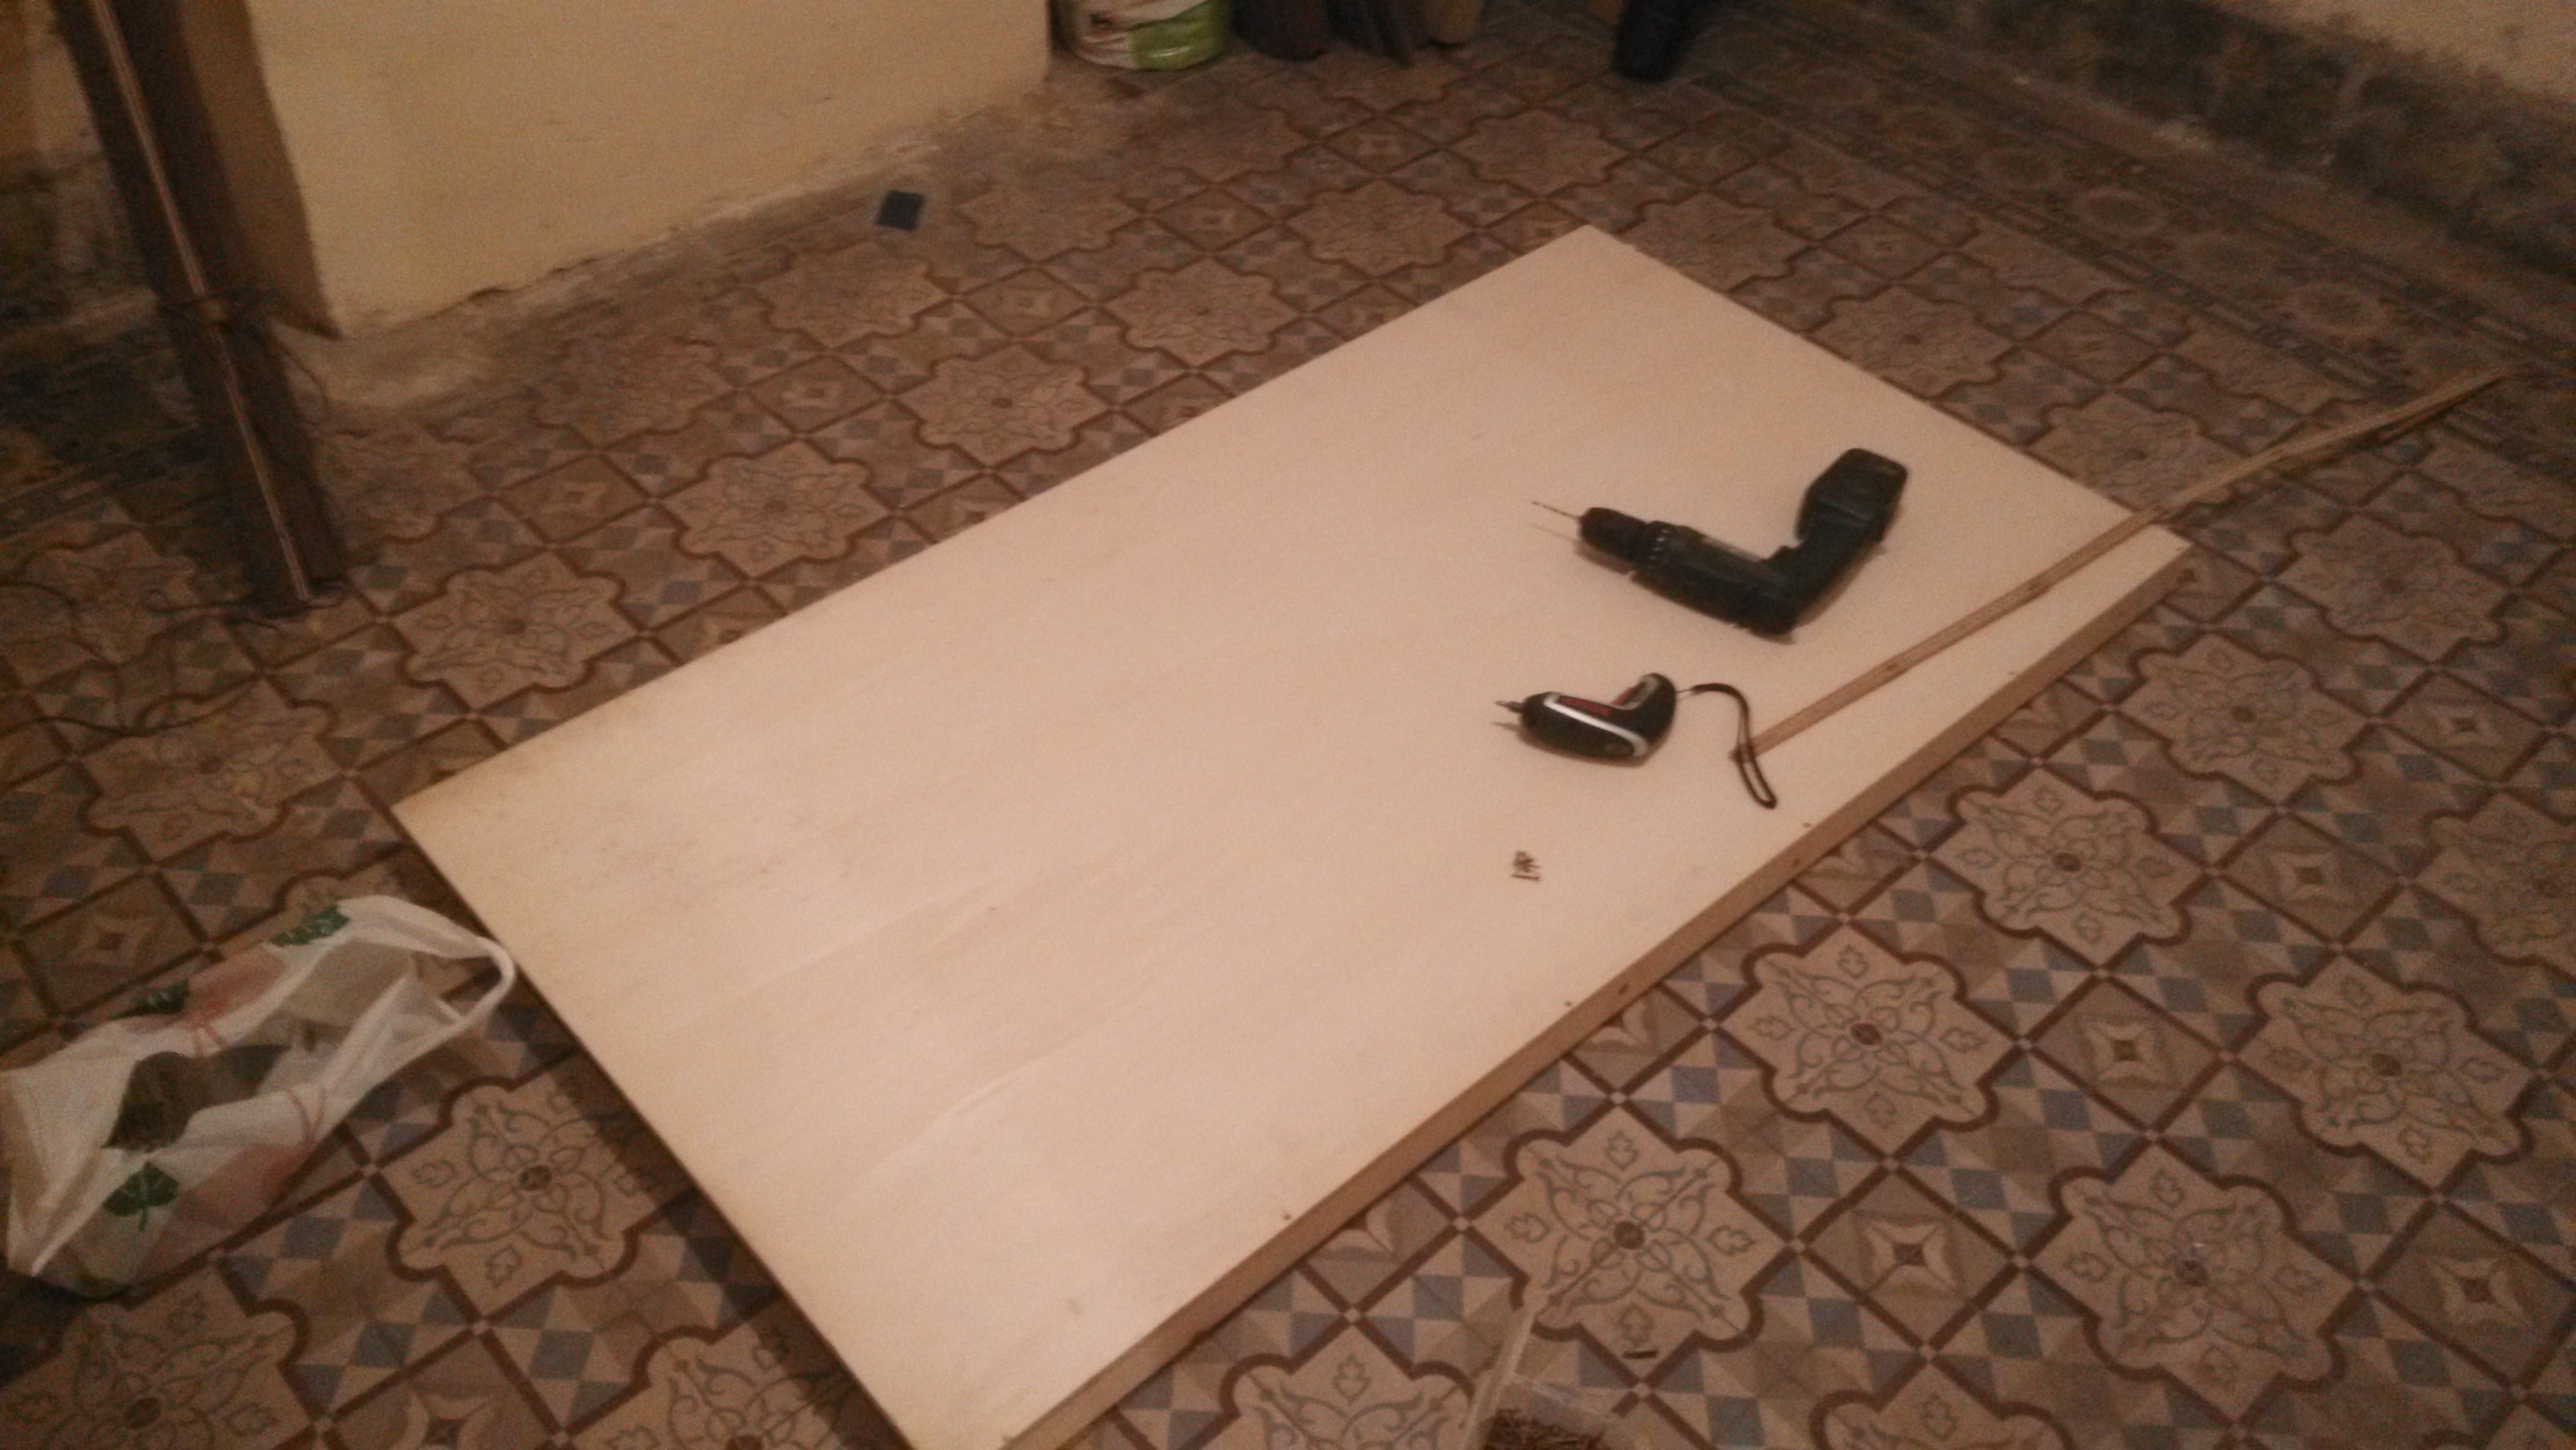 I made sure the curve of the board was to the inside (i.e. hollow out), so the qlat would flex out and I could push it in to flush.
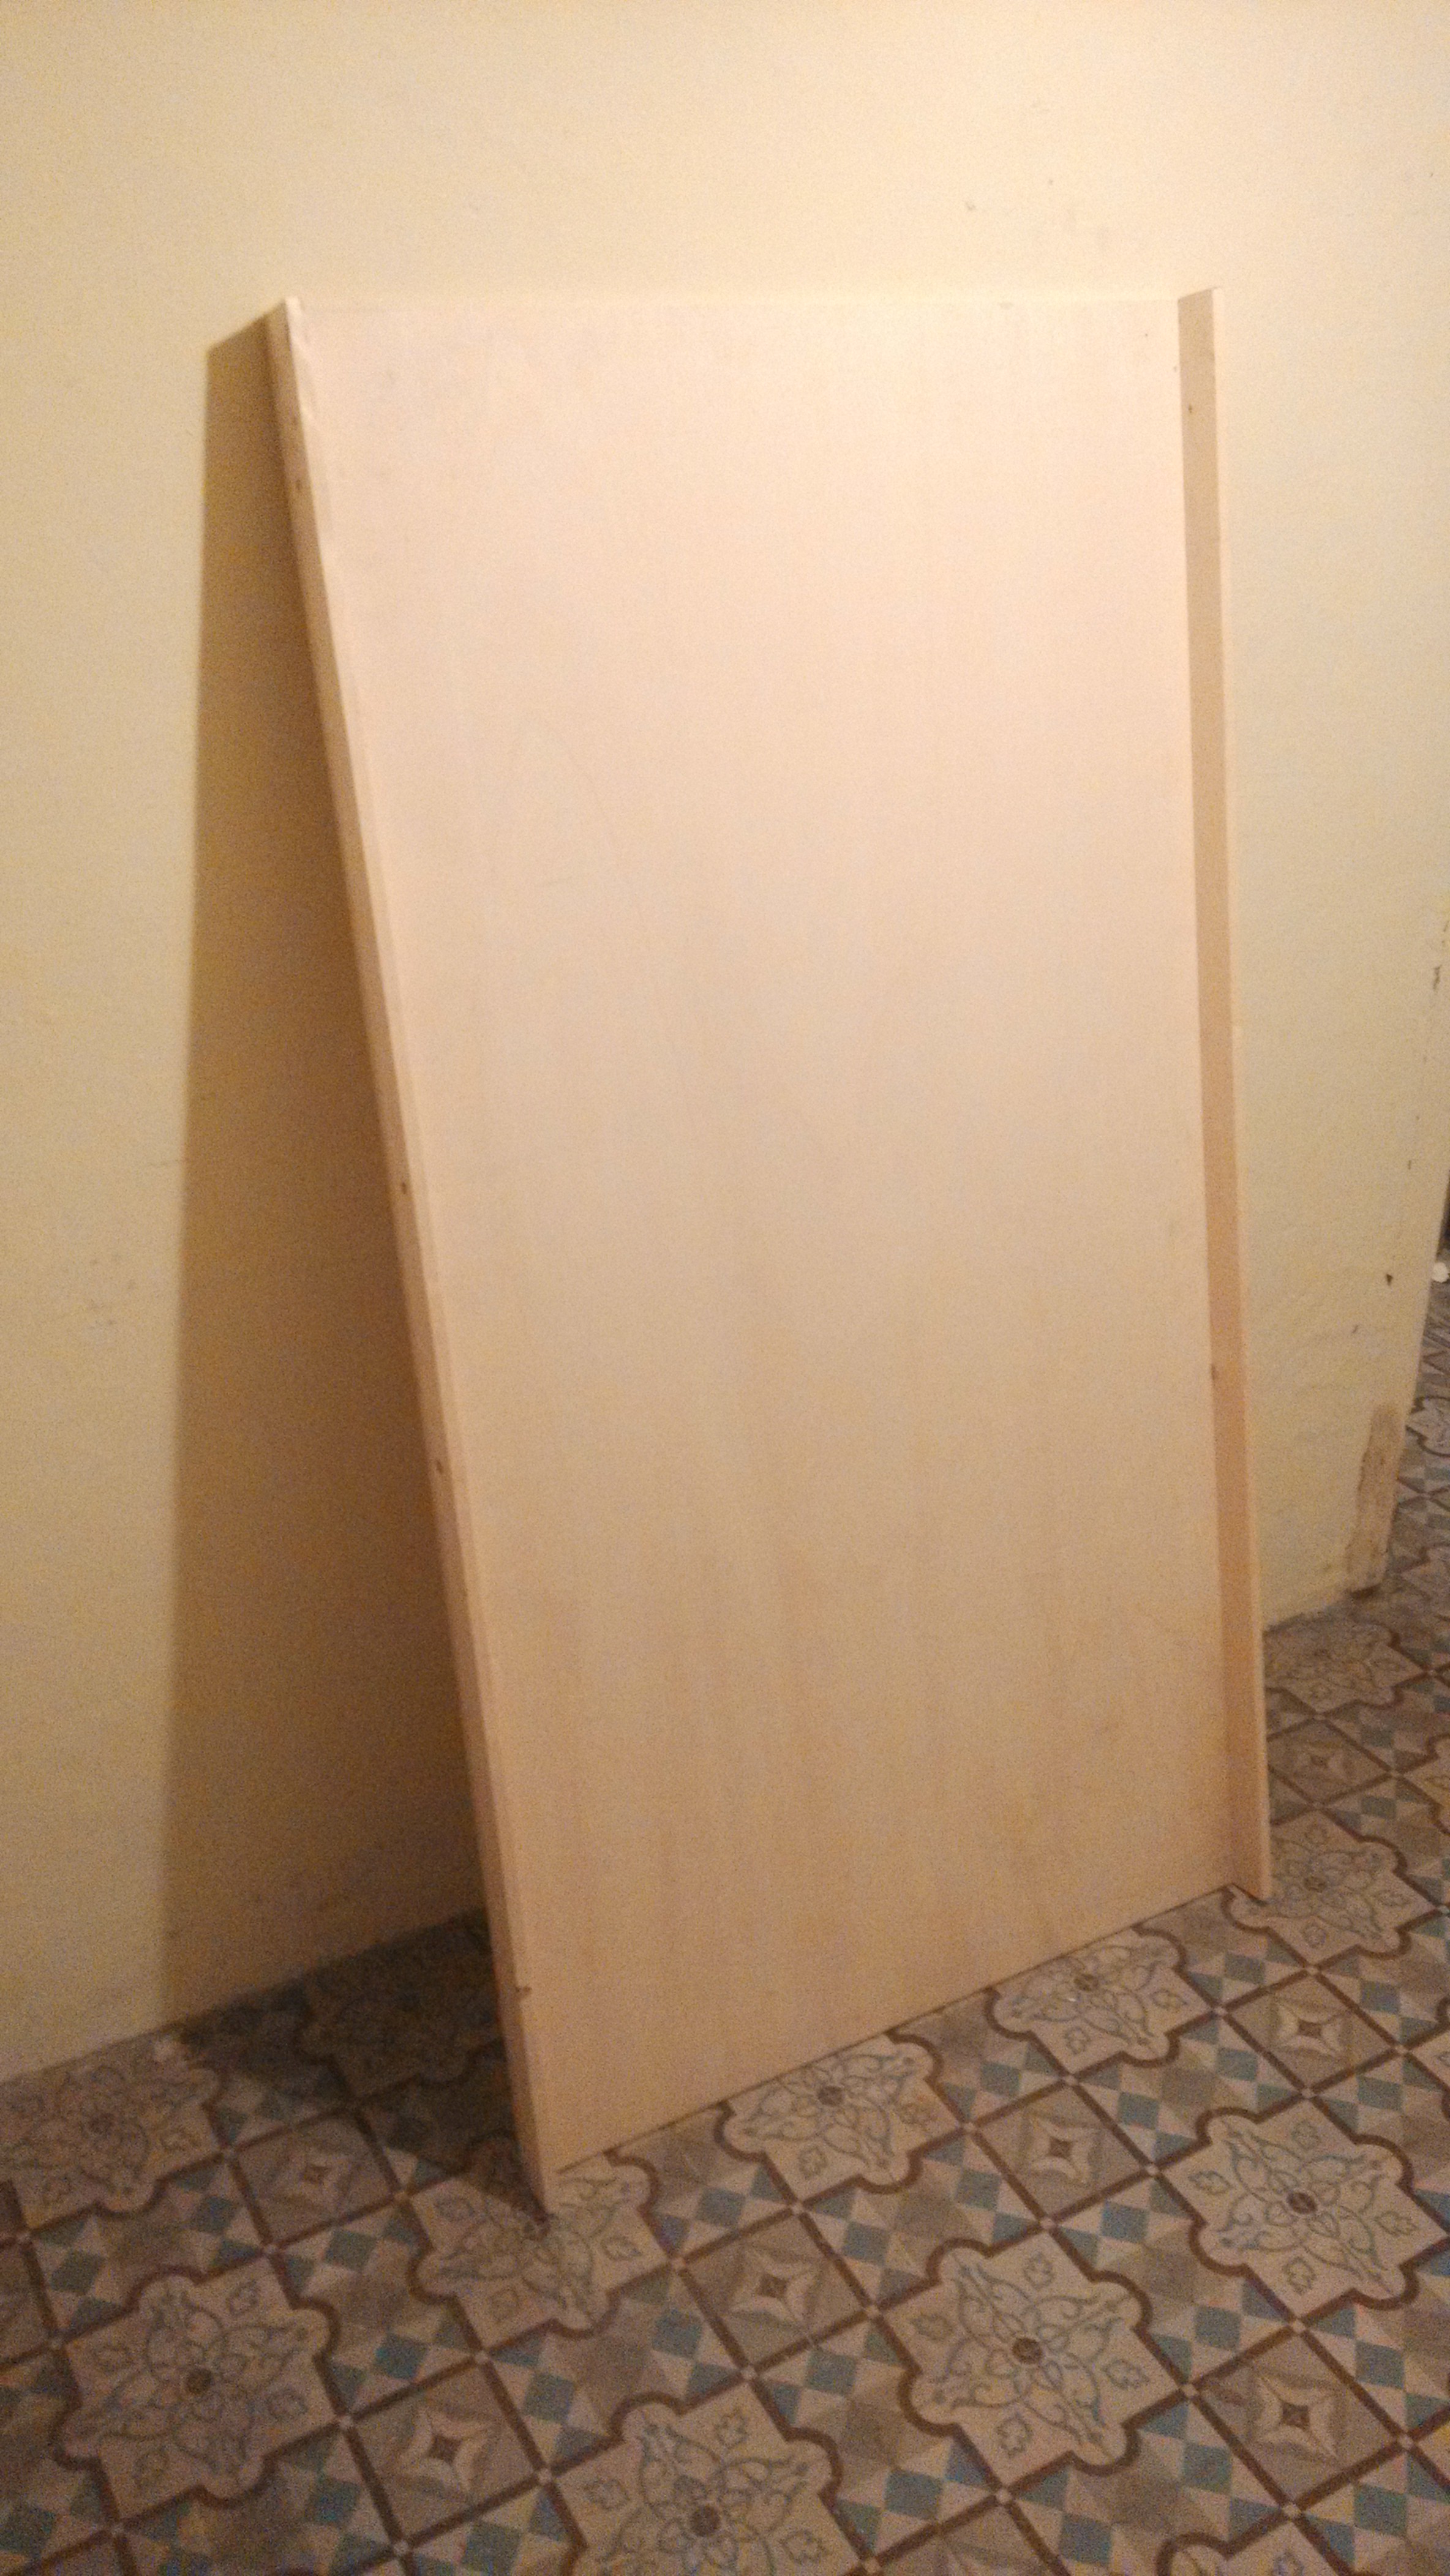 I then flipped the now construction up to work on it a bit more comfortably. I marked off and cut the top and bottom slats, and wedged them in to predrill and screw.
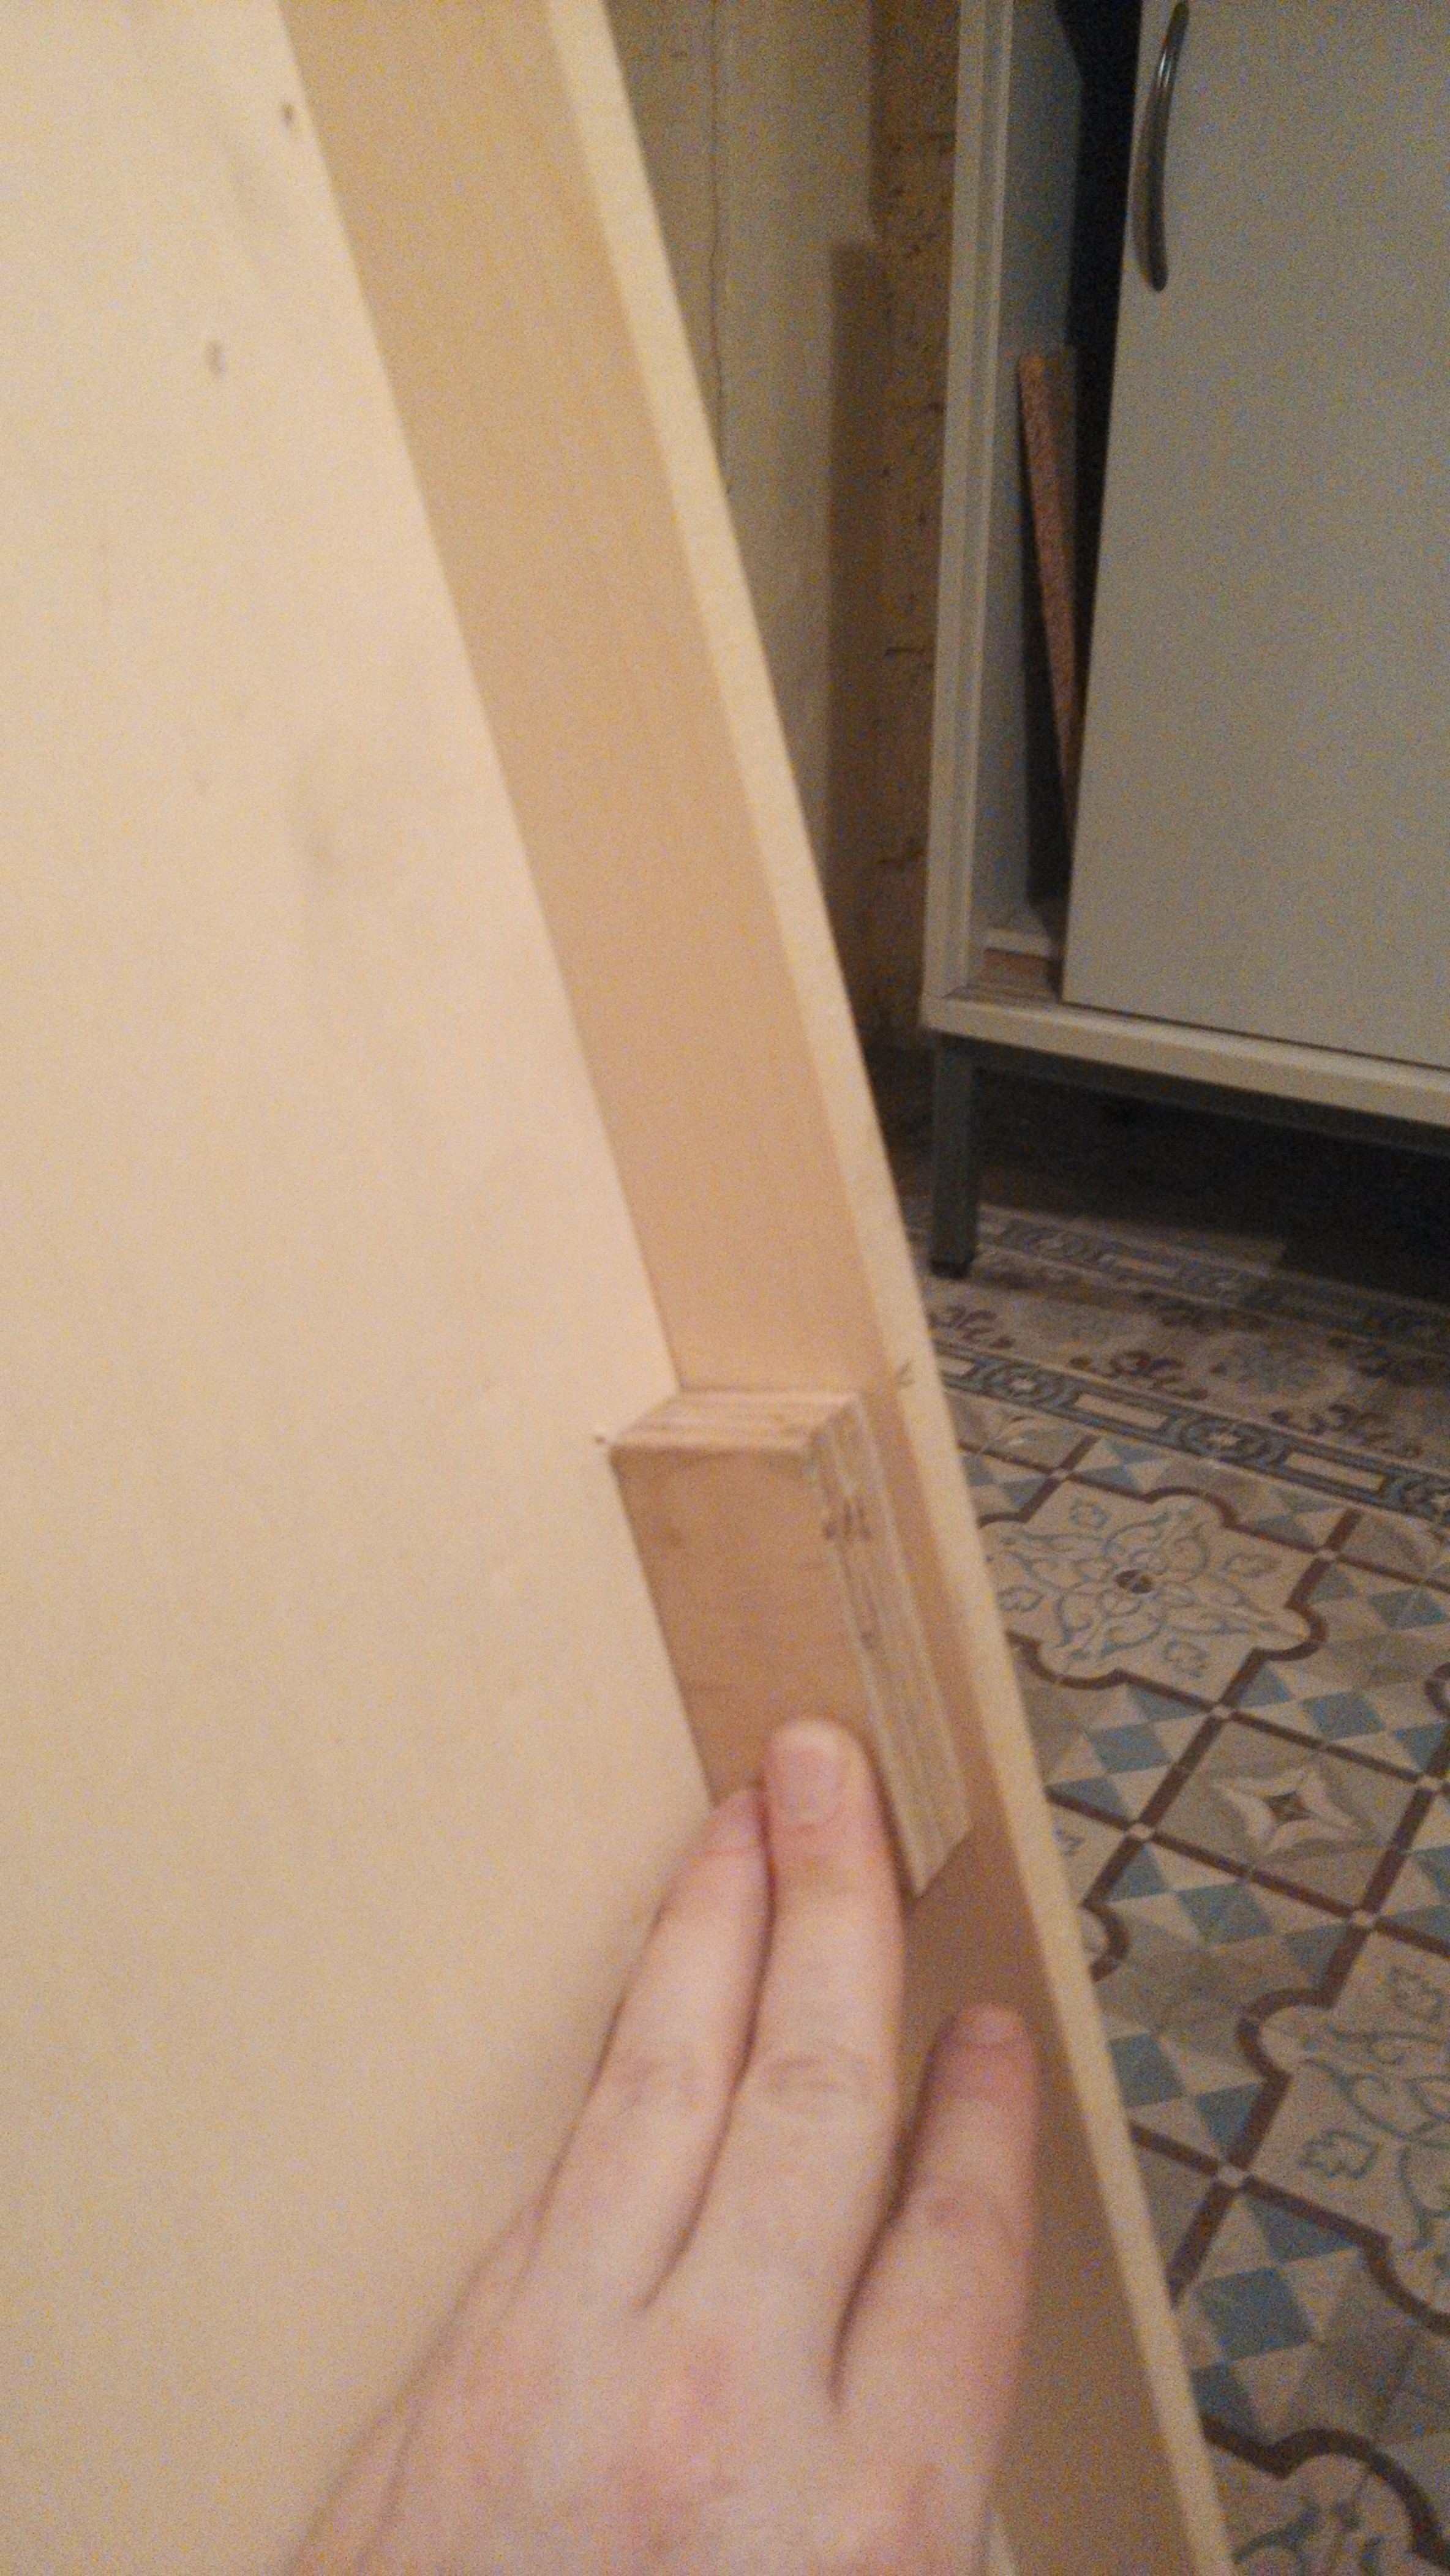 After marking off the rest of the lats, which will keep the board stiff, I used a little guide to predrill holes where they'll be mounted. Like that I don't need to guess where they'll be from the back.
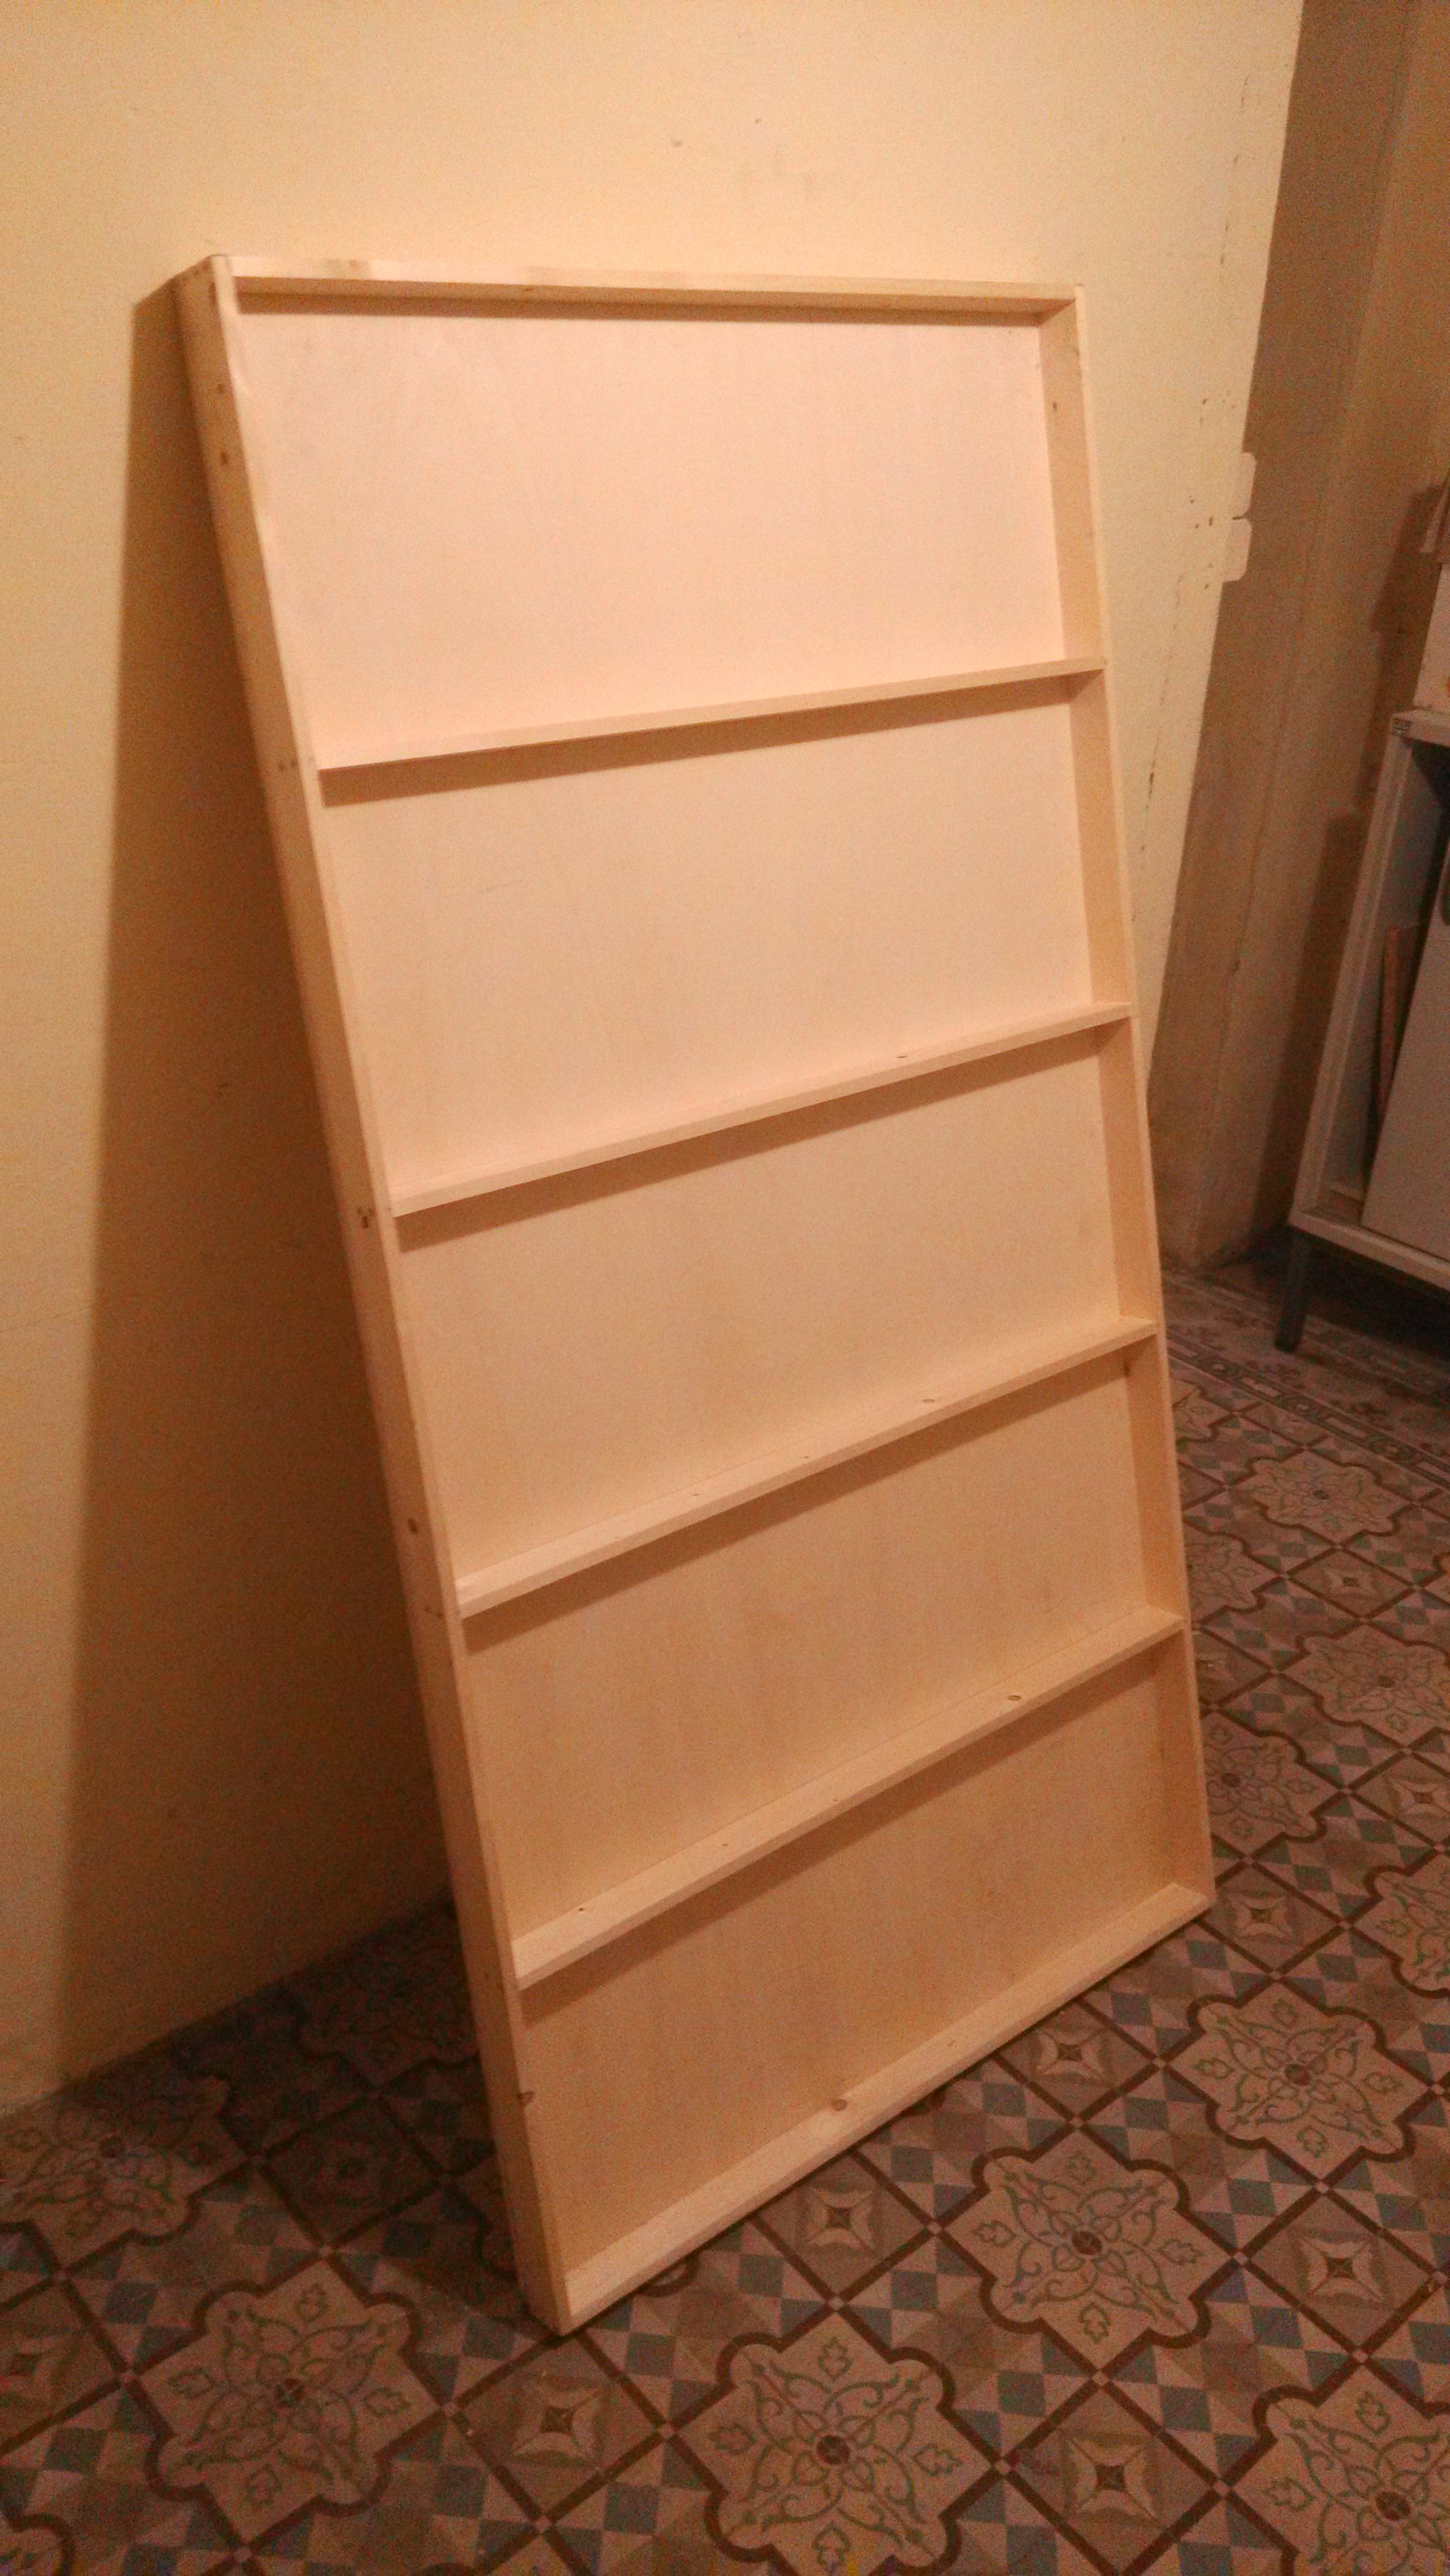 Three screws on the side (3mm) keep the slats fixed. If I ever want to I could use the whole thing as a book stand. You know, for presentation. Spacing is 28 cm.
I then flipped the board back onto the floor and put screws in the pre-drilled holes. I measured out the rest of the screws.
 Unfortunately my belt sander broke down a while back and I could not flush the slats at the corners, as a result there's half millimeter gaps. Yes, I could have sanded manually, but speed was of the essence here.
One big issue was that my screws were 25 mm long, which is the width of the slat doubled. So When I got round to fixing the sides I noticed they would peak their tips through. I decided to pince off the tips with a pincer. Bad decision: it took a lot of time and strained my wrists.
For the long slats, I decided to screw into the side of the plyboard instead, then later add shorter screws into the slats.
The kids loved it, and in three hours time used it as a race cirquit, a simulated ocean, a marble snooker table, and an improvised bed. And it stores under the couch!
to do
We (it's co-owned now)still need to clean the board and laquer it. We've considered putting blackboard paint on, but that'd probably just scrape off as the kids played.
I'm wondering how well you can get dryboard marker off acrylic laquer...
Otherwise I'll be able to print of banner sized (or glue a3 onto cardboard) images of race cirquits, towns, constructions sides, landscapes etc.
Obviously one thing that will be next is cardboard scenery for the kids to cut out and assemble. Still thinking of what a proper Rompmeister angle will be...
Onwards
more is coming... when I get round to doing it!